Home / Seams in Quartz Counters
Seams in Quartz Counters
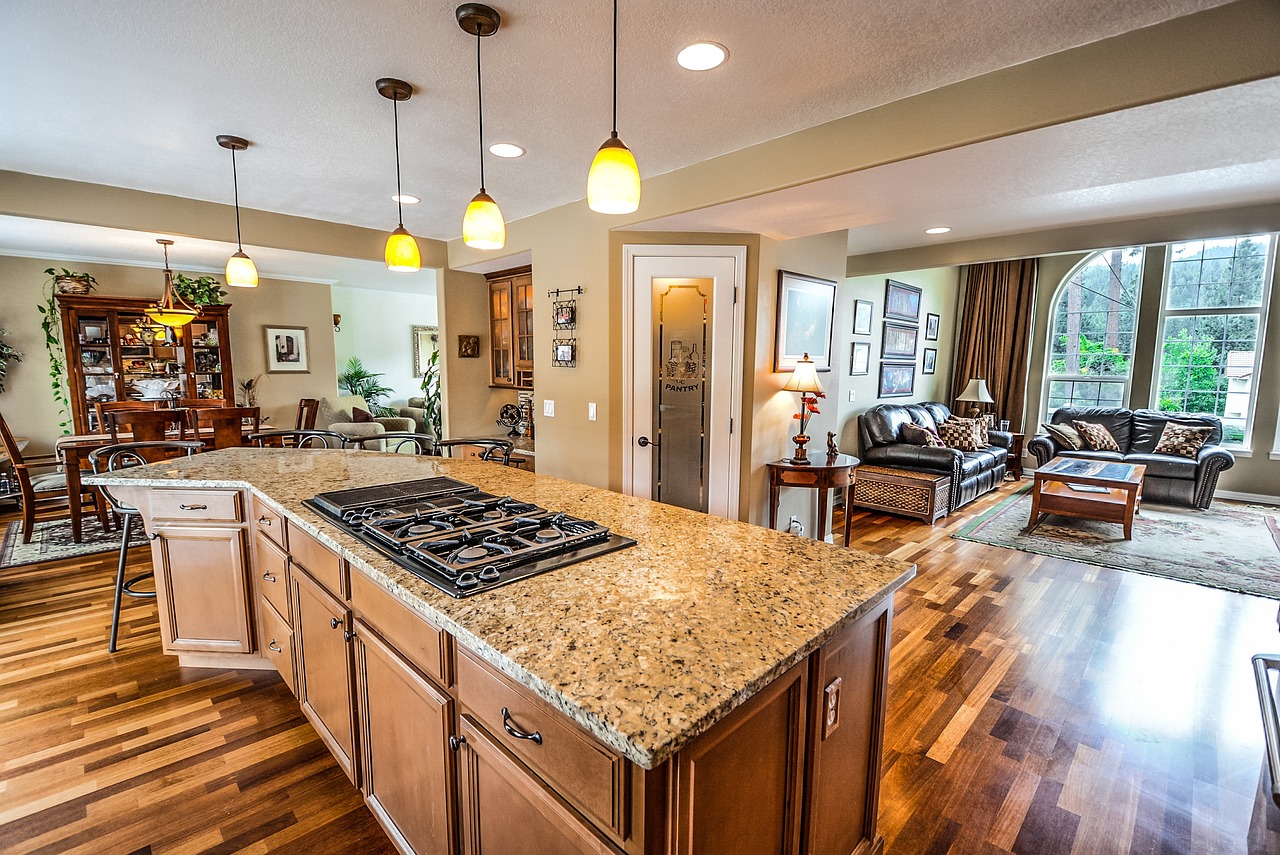
Where the joints go before the stone is cut
Every quartz kitchen has a moment, usually a week or two before installation, when a fabricator lays out a drawing of the slabs and marks where the pieces meet. That drawing decides how many seams the counters will have, where each one sits, and how obvious it will be for the next twenty years. Most homeowners nod through it. A few minutes of attention at that stage prevents the most common complaint about engineered stone, which is a visible line cutting across the most prominent stretch of the kitchen.
Why seams exist at all
Quartz slabs come in a limited set of sizes. A typical slab is roughly a bit over nine feet long and a little under five feet wide, with some manufacturers offering jumbo sizes a few inches larger. Any run of counter longer than the slab, or any L shaped or U shaped layout, needs at least one joint. Even a short run may need one if the shape of the cutouts weakens the piece so much that it could snap during transport, which is a real risk across the thin strip of stone left between a sink cutout and the front edge.
Seams are not a sign of poor workmanship. They are a normal part of the craft. What separates a good one from a bad one is placement, fit, color match and the adhesive used to join the pieces.
The best places for a joint
Fabricators follow a handful of conventions, and it helps to know them so you can ask why when a drawing departs from them.
- Inside corners. In an L shaped layout, the joint sits at or near the inside corner, where the two runs meet. This is the strongest option because the pieces are supported on both sides.
- Away from the sink and cooktop. A seam directly beside a sink cutout invites stress and traps water at the crack. Most pros keep joints at least a hand's width or more away from cutout edges when the layout allows.
- Over a cabinet wall. A seam should land where cabinet structure sits underneath, not across an open span or a dishwasher gap.
- Out of the main sight line. A joint tucked behind a range or near a tall pantry is less noticed than one directly in front of the eating area.
Sometimes the best position is a compromise. A long galley run may call for a joint midway, and the useful question becomes which of two acceptable spots reads as more natural.
The pattern problem
Quartz is designed to look uniform, but that uniformity has limits. Slabs with bold veining, movement or large flecks cannot hide a joint the way a solid or finely speckled color can. Two pieces cut from the same slab and laid in order can show veins that continue across the joint, which is often called a bookmatch or a continuous flow. Pieces from different slabs, even within the same production lot, may differ in tone and pattern enough to make the seam stand out.
Several practical points follow from this:
- Ask the fabricator to confirm that every piece comes from the same lot and, ideally, the same slab or adjacent slabs.
- Choose a lower contrast pattern if the kitchen layout forces several joints.
- Inspect the actual slabs in person before they are cut, not only a small sample, because color drift across a full slab can surprise people.
- Ask whether the fabricator will lay out pieces so veins align across each joint.
How a good seam is made
The two edges to be joined are cut straight and tested for fit on the cabinets. The edges are cleaned, then a color matched adhesive is applied, typically a two part polyester or epoxy tinted to blend with the stone. The pieces are drawn together using suction cups or clamps and leveled so the surfaces sit on one plane, with no lip that a fingernail could catch. Excess adhesive is scraped away and the area is polished. Done well, the result is a hairline, a thin dark or light thread that is visible only from certain angles.
The ideal is a joint you can feel with a fingertip as no more than a very faint change. A joint you can see clearly from standing height, or one that catches a sponge, is below the usual standard. Light is revealing: a seam that looks perfect under overhead lights may show in raking light from a window, so check it at different times of day before the fabricator packs up.
Reinforcement and support
Seams do not carry the load alone. The cabinets beneath must be level, because even a small difference at the joint creates a step. Many installers use shims and leveling blocks and check the line across the full run before bonding. Where a seam falls near a sink or cooktop opening, some fabricators add a bonded strip of stone or an underside reinforcement to keep the thin sections from flexing.
The adhesive bead at the joint is the softest element of the whole counter. Hot cookware placed directly on a seam can affect the adhesive and widen the line. Keeping trivets away from joints is an easy precaution.
Overhangs and seating areas
A seam in an overhang is a particular concern. Where the counter extends past the cabinet to make a seating area, the stone is cantilevered and supported by brackets or corbels. A joint in that stretch should be avoided, or reinforced with a steel support from below. Kitchen islands that run longer than a single slab may need a joint, and the preferred spot is usually over the cabinet base rather than the overhang.
Edges and backsplash lines
The edge profile affects how a seam looks. A plain eased edge is the simplest to match across a joint. Elaborate profiles such as ogee, waterfall or mitered thick edges require precise alignment, because any mismatch shows in the shadow lines. A mitered waterfall edge introduces a different kind of seam, where a vertical panel meets the horizontal top at an angle. With a patterned slab, these corner joints are where fabricators spend the most care, and where the quality of the work is easiest to judge.
A full height backsplash of the same stone adds more joints at the wall, where counter meets splash. A bead of flexible sealant, rather than rigid adhesive, belongs in that junction because the wall and counter move at slightly different rates through the seasons.
Questions worth asking the fabricator
- How many seams will this layout have, and where are they marked?
- Can the seam be moved to a less visible spot without weakening the piece?
- Will pieces be cut from one slab so the pattern continues across the joint?
- What color adhesive will be used, and is a sample available to compare?
- Who is responsible if a seam opens or shifts after installation?
Written answers are better than verbal ones. Reputable shops mark a seam plan on the template drawing and ask the homeowner to approve it.
What to check on installation day
Stand at each seam and look along the surface from a low angle. Run a clean finger across it. Look for adhesive that has dried raised above the surface, a visible gap, or color that stands out. Check that the seam sits over cabinet structure and that the counter is level in both directions. Raise concerns before the crew leaves, since fixes are easier while tools and materials are still present.
A seam is among the few parts of a quartz installation that cannot be fully judged from a showroom sample. Time spent on the layout, the slab selection and the inspection tends to be the difference between a counter that looks like one continuous piece and one that looks assembled.